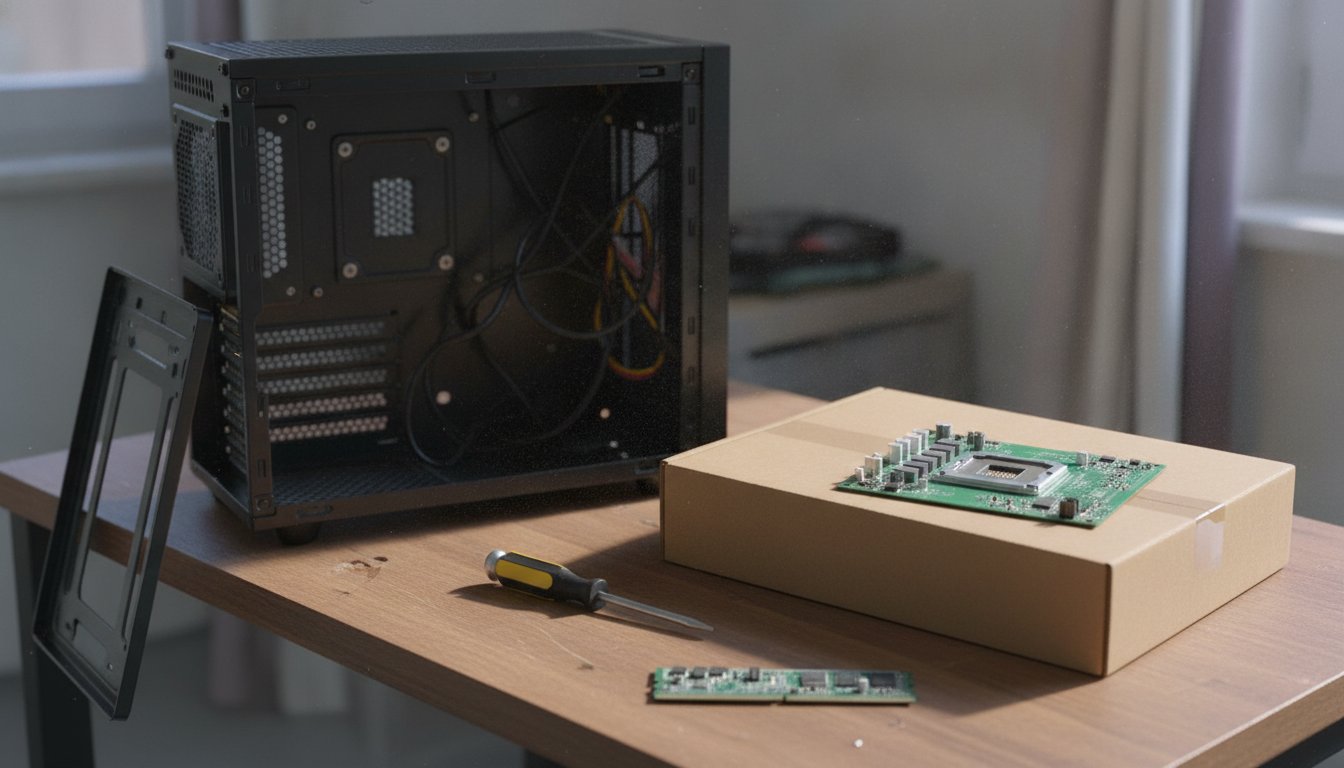
Is building a PC hard? For most people, no: the physical assembly is closer to expensive Lego than skilled trade work, and most first timers finish it without breaking anything. The two parts that genuinely earn the word hard are checking part compatibility before you buy and diagnosing a build that will not start. This guide covers both, plus the buying mistakes that cost real money.
Is Building a PC Hard, or Just Unfamiliar?
Is building a PC hard, or just unfamiliar? For nearly every first timer it is the second one. Modern parts only fit their intended sockets, the cables are keyed so they cannot go in backwards, and a current motherboard manual reads like good furniture instructions. Across years of first build forum threads the consensus is remarkably consistent: the assembly is the easy half.
The difficulty splits into two buckets, and naming them is the most useful thing this page can do. Bucket one is physical assembly: standoffs, the CPU, the cooler, the memory, the cables. It is fiddly in three or four specific moments, each covered below, but it is safe work done slowly; bucket two is knowledge work: verifying the parts fit together before you spend money, and working out why a finished build will not start. Nearly every expensive story starts in bucket two.
That scorecard is our editorial read of where the difficulty actually sits, drawn from the build and rescue work that crosses our bench, not a measurement. If you want the assembly walked through screw by screw, start with the full how to build a PC walkthrough and come back here for the judgment calls, because the decisions are where money is won or lost.
How Hard Is It for a First Time Builder, Really?
How hard is it for a first time builder? Mostly it is a matter of hours, not talent. Published estimates from hardware guides and repair shops cluster tightly: a first assembly takes 4 to 8 hours, an experienced builder needs 1 to 2, and the part research almost nobody budgets for runs 5 to 15 hours before anything is ordered. A bench shop breakdown published in July 2026 adds the step first timers skip most: a 24 to 48 hour stability test that runs mostly unattended.
That last number matters more than it looks. A machine that boots into Windows is not a finished machine; it is an untested one. Memory errors, thermal throttling, and a weak power supply all hide from a ten minute check and surface under sustained load. It is why how long a first build really takes is a different question from how long the screwdriver is in your hand.
| Stage | Published range | Notes |
|---|---|---|
| Part research | 5 to 15 hours | The stage most first timers undercount |
| First assembly | 4 to 8 hours | Plan a full free day, not an evening |
| Experienced assembly | 1 to 2 hours | Speed comes from repetition, not tools |
| Stability test | 24 to 48 hours | Mostly unattended; surfaces hidden faults |
The chart and the table show the same published ranges, gathered from 2024 to 2026 build guides and one repair bench breakdown; the chart draws the upper end of each range. The honest takeaway is that a first build is a weekend project with homework, not an afternoon errand.
The Buying Mistakes That Cost Real Money
The buying mistakes that cost real money almost all happen before a single screw turns. A part that does not fit cannot always be returned once the box is open, and one mismatched purchase can strand a build for a week while a replacement ships. Four checks prevent nearly all of them.
Match the socket
The CPU and motherboard socket names must match exactly, and the board must support your exact chip, sometimes only after a BIOS update. Check the board maker's CPU support list, not the box.
Match the memory
DDR4 and DDR5 are not interchangeable, and they fit different slots. Buy one matched kit of two sticks; mixing kits with different specifications invites instability.
Measure the clearances
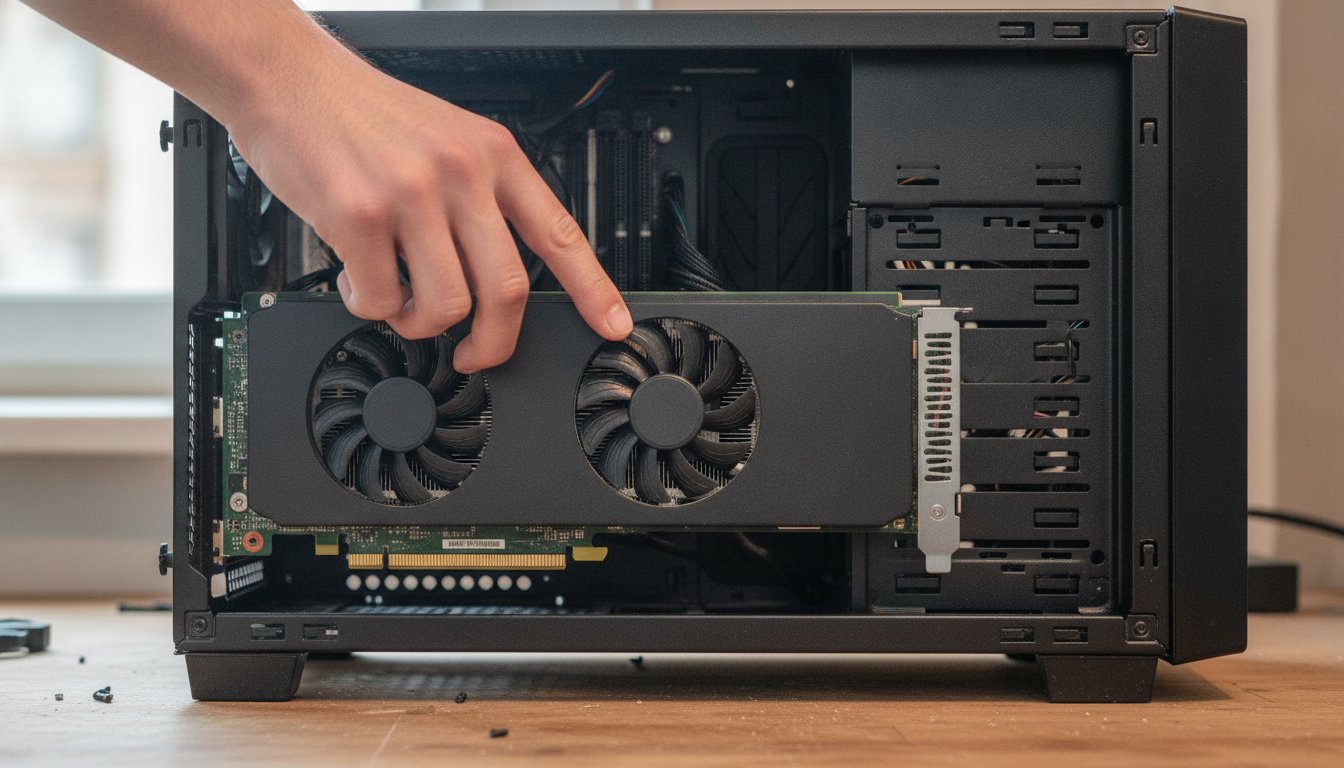
Graphics card length, cooler height, and radiator space all have published limits in the case specification sheet. Read it before you buy, not after.
Size the power supply
Add the rated draw of the CPU and graphics card, add about 150 watts for the rest of the system, then add a 20 percent buffer for aging and upgrades.
Why the Compatibility Checker Is Not a Guarantee
Compatibility tools such as PCPartPicker cross reference the specifications manufacturers publish, and they catch socket and memory standard mismatches well. By the tool's own account, though, it does not validate a motherboard's qualified vendor list for RAM, and some physical clearances go unchecked, cooler height and RAM height under large air coolers among them. Treat the checker as a filter that removes most mistakes, then verify the last few against the case and motherboard specification sheets yourself.
The Power Supply Mistake That Can Take Everything With It
An undersized or low quality power supply is the one purchasing error that can damage other parts instead of just failing to work, because every component in the case eats from its output. The wattage method in the card above keeps you out of trouble on capacity. Quality is a separate axis: an 80 PLUS badge measures efficiency at only three load points and says nothing about internal build quality, while a Cybenetics certification tests roughly a thousand load points and additionally rates acoustic noise and standby power draw. Between two units of equal wattage, the better Cybenetics tier is the safer buy.
If you are still assembling the shopping list, the plain list of parts every build needs keeps the trip honest before any of these checks matter.
Do You Need to Ground Yourself Before Building a PC?
Do you need to ground yourself before building a PC? It is a smaller risk than the internet suggests, and the precaution costs nothing, so take it anyway. Component manufacturer Corsair states plainly that modern parts tolerate far more static than older hardware did, and that the more realistic part killers are dropping a component or forcing a connector into the wrong place.
Skip the wrist strap and static electricity will fry your parts the moment you touch them.
Modern components are far more static tolerant than older hardware. The common part killers are drops and forced connectors, so slow hands beat special equipment.
How to Ground Yourself in Ten Seconds
Here is how to ground yourself without buying anything: before handling parts, touch the bare metal of the power supply housing while it is plugged into the wall with its switch off, work on a hard floor instead of carpet, and rest components on their boxes rather than on a blanket. A wrist strap is a cheap comfort, not a requirement. Then put the worry where it belongs: on seating parts squarely and never forcing a connector that does not want to go.
What Happens If Your PC Does Not Turn On the First Time?
What happens if your PC does not turn on the first time? Usually nothing is broken. Forum veterans agree this is the real test of a first build, and it is also the exact moment most guides abandon you with a shrug about troubleshooting being hard. Here is the ordered checklist that resolves most no boot cases without any test equipment.
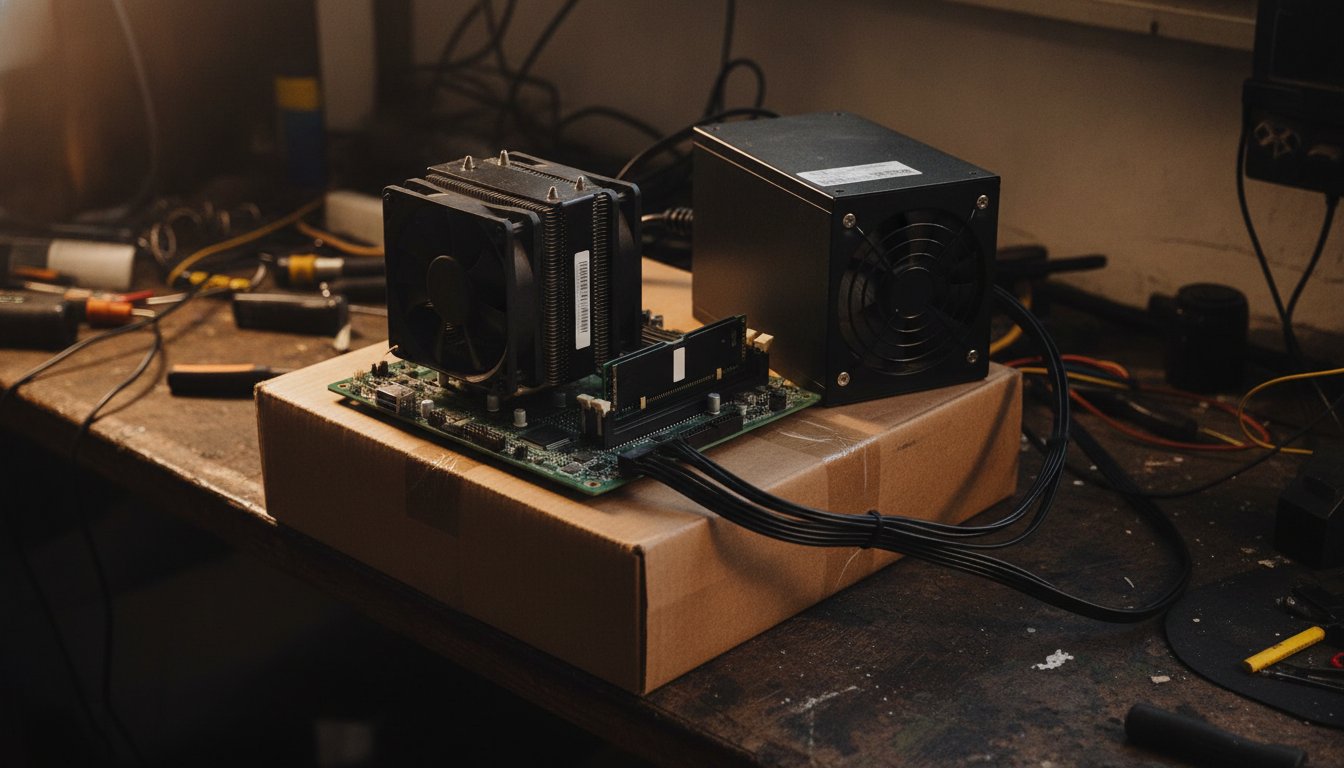
First, know about the black screen that is not a failure. Current AMD AM5 boards running DDR5 memory train on the first boot: the board tests signal timing on the new modules and can hold a black screen for 45 seconds to 3 minutes while the fans spin, behavior that platform guides published in May 2026 document as normal. First timers regularly mistake memory training for a dead motherboard and start pulling parts. Set a five minute timer before you touch anything.
If all seven steps fail, strip the build down to motherboard, CPU, one memory stick, and power supply, assembled on the motherboard box outside the case, then add parts back one at a time until the failure returns. The part that brings the failure back is your answer. That stripped down method is the same sequence we run on the bench before reaching for anything more serious.
Should You Build It Yourself, Pay a Shop, or Buy Prebuilt?
Should you build it yourself, pay a shop, or buy prebuilt? The honest answer depends on your budget, your free hours, and your appetite for troubleshooting, and it fits in one table.
| Your situation | Strongest path | Why |
|---|---|---|
| Budget roughly $700 to $1,500 and a free weekend | Build it yourself | Published 2026 comparisons put the strongest do it yourself value in this band |
| You need it this week, with a warranty on the labor | Paid assembly | You still choose the parts; the shop carries the assembly and first boot risk |
| Budget under roughly $600 | Price prebuilts seriously | OEM bulk part pricing can undercut retail do it yourself costs at the low end |
| You mostly want to learn | Build it yourself | The troubleshooting skill is the real product; the computer is the souvenir |
Paid assembly at the national chains is real and priced within reach. Micro Center's published build service tiers ran $149.99 to $249.99 plus parts as of early August 2026 listings, and Best Buy's Geek Squad lists a $39.99 in store basic hardware installation, with full builds quoted case by case; these figures change without notice, so verify the live service pages before planning around them. Understand what a fee like that buys: labor and a warranty on the work, not judgment. You still have to choose or approve the parts list, which is the actual hard part of the job.
Stateline Tech builds customer PCs on the honest version of that model: a custom PC build service where you approve every part before anything is ordered, parts are billed at cost with the receipts in the box, and the machine runs a stress test before it goes home. We keep the comparison fair in both directions, because whether it is cheaper to build or buy right now moves with the memory market, and what a full parts list costs in 2026 is a bigger number than it was two years ago.
Does Building or Opening a PC Void the Warranty?
Does building or opening a PC void the warranty? For a self built machine there is no single warranty to void: every part carries its own manufacturer coverage, which is one of the quiet advantages of building. For a prebuilt, opening the case to add memory, swap storage, or clean dust generally does not void coverage by itself. HP's own support channel confirms that the problems come from damage caused during the work or from breaking a warranty seal where one exists, and policies differ by brand, so read the specific terms before opening a machine still under coverage.
One related purchasing myth is worth killing while we are here: filling every memory slot with mismatched sticks is not an upgrade. Mixed kits with different specifications are a documented cause of reduced bandwidth and random blue screens. Two matched sticks beat four mismatched ones almost every time.
When DIY Wins (and When You Should Not Pay Us)
When DIY wins is most of the time, and we would rather say that out loud than pretend otherwise. If your budget lands in the do it yourself sweet spot, you can spare a weekend, and the no boot checklist above reads like an adventure instead of a threat, build it yourself. The savings are real, every part keeps its own warranty, and the machine teaches you how to upgrade it for the next decade.
What We See When DIY Builds Reach the Bench
What we see when DIY builds reach the bench is the same short list of misses, and none of them are stupidity; they are the predictable products of first time nerves. A front panel connector seated one pin off, a power button wire on the reset pins, a cooler mounted with the protective film still on the cold plate, memory from two different kits that never should have shared a board.
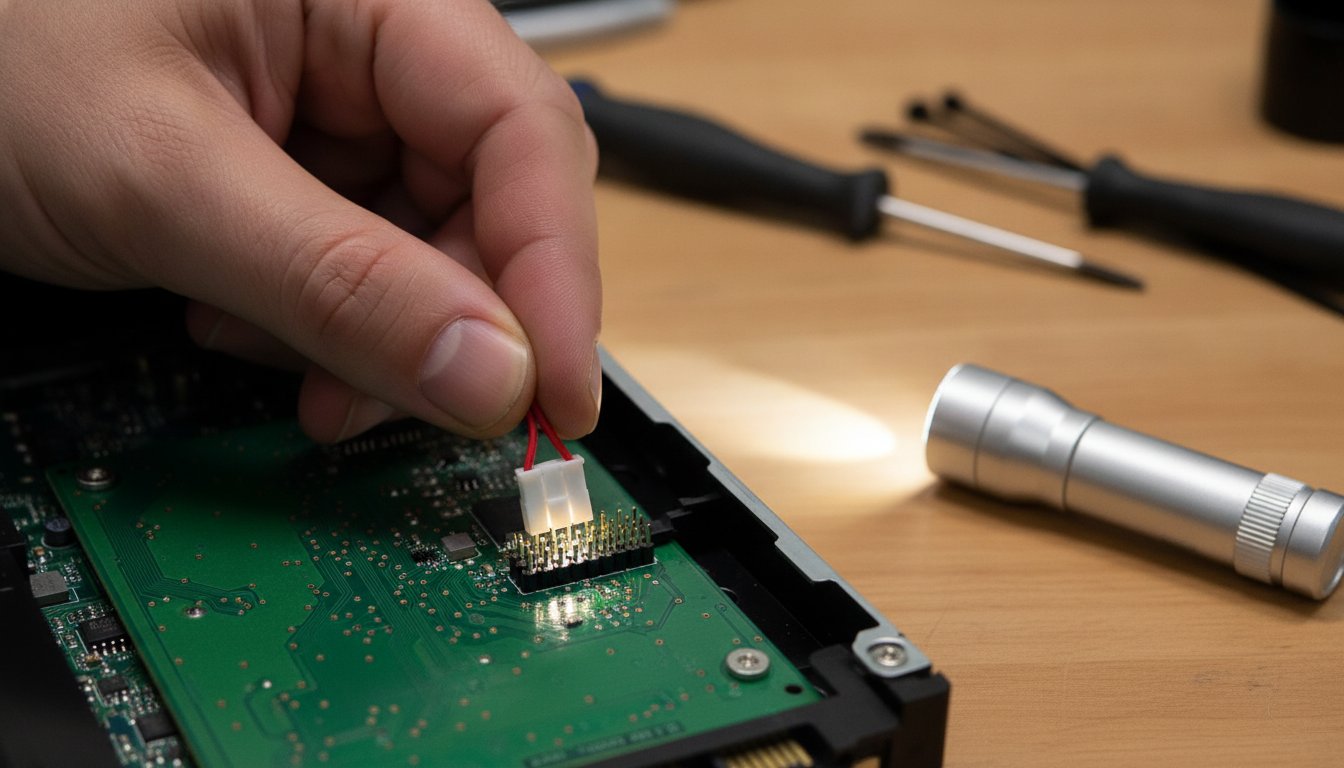
The pattern that costs the most is panic disassembly: a build that was one reseated cable from working gets torn down to the bare case, and somewhere in the second assembly a real problem gets introduced. If your build will not start, run the checklist above once, slowly, before you pull anything. And once the machine runs, put maintenance on the calendar, because heat is the long game and how long thermal paste actually lasts is the follow up question most new builders never think to ask.
Frequently Asked Questions About First PC Builds
These are the questions searchers ask most often around this one, answered the way we answer them across the counter.
Is $1,000 enough to build a gaming PC?
For most people, yes. Published comparisons through mid 2026 put the strongest do it yourself value between roughly $700 and $1,500, and $1,000 sits comfortably inside that band. Balance the budget across the whole parts list instead of overspending on one component, and check current memory prices before you commit, because that market has been volatile.
What is the hardest part of building a PC?
The research and the troubleshooting, not the assembly. Years of forum threads on this exact question agree that choosing compatible parts and diagnosing a build that will not start are where first timers actually struggle. The fiddliest physical step is usually the front panel connectors, which are tiny, faintly labeled, and slightly different on every case.
How long does it take to build a PC for the first time?
Plan on 4 to 8 hours for a first assembly, plus 5 to 15 hours of part research before you buy and a 24 to 48 hour stability test afterward that runs mostly unattended. Experienced builders finish the same assembly in 1 to 2 hours. Rushing the research or skipping the stability test is how expensive mistakes get discovered late.
Do I need to update the BIOS before installing a new CPU?
Sometimes. A brand new CPU on older stock of a compatible motherboard may need a BIOS update before it will start, so check the board maker's CPU support list for your exact chip before buying. Many current boards can update from a USB stick with no CPU installed, which turns a potential dead end into a ten minute job.
How often should I clean dust out of my PC?
We suggest a yearly cleaning as a minimum, and more often in homes with pets or carpet. Dust blankets heatsinks and forces the machine to slow itself down to stay cool. One independent bench test published in January 2026 recorded CPU temperatures about 12 degrees Celsius lower and 8 to 12 percent better frame rates after nothing but a thorough cleaning.
If the hard parts of building, the compatibility judgment and the no boot troubleshooting, are exactly what you would rather not own, call Stateline Tech at (608) 214-5158 or start with our custom PC builds service, and we will pick it with you, build it, stress test it, and hand you the receipts.