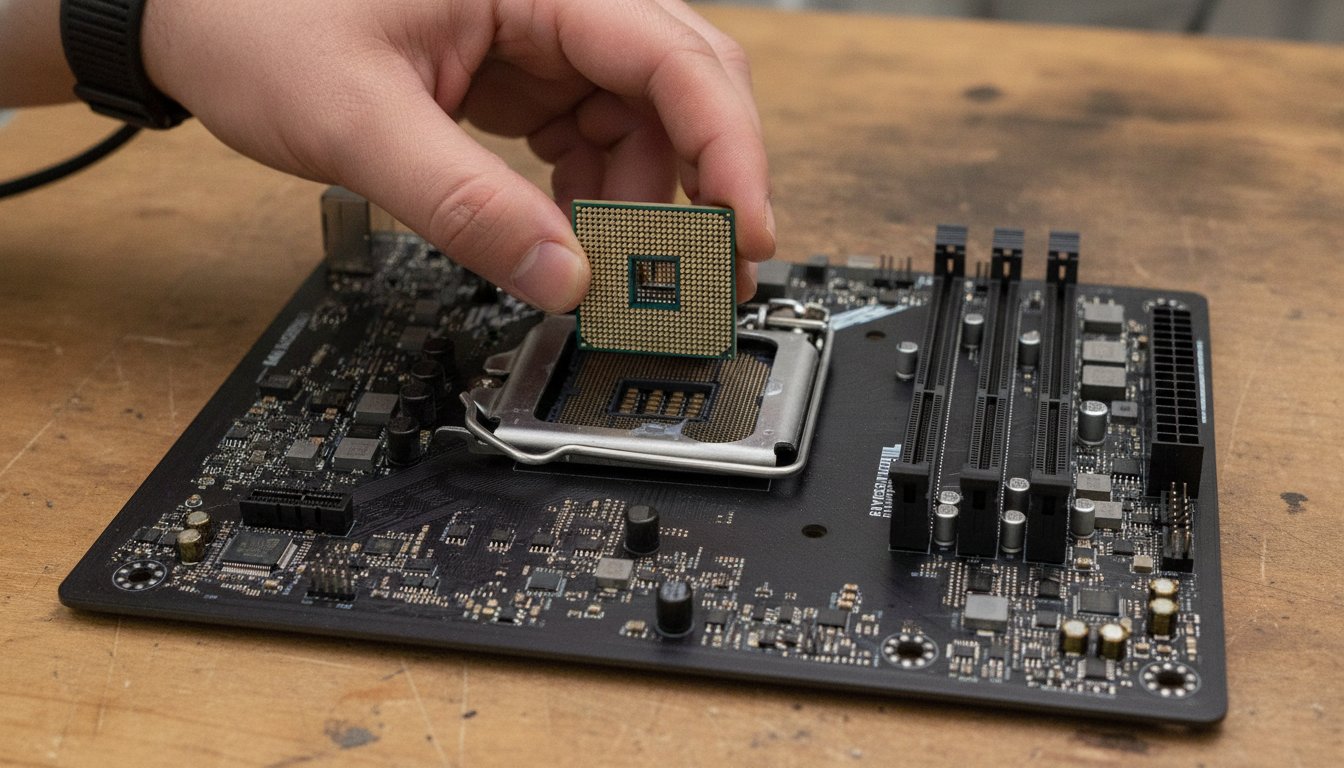
How to build a pc, in one line: gather compatible parts, seat the CPU and cooler first, add RAM and storage, mount the motherboard, wire the power supply and front panel, seat the graphics card, then install Windows and drivers. Stateline Tech assembles and repairs machines on a real bench in McConnell, Illinois, and this guide follows the order we actually use, plus the parts list, the honest cost math, and the mistakes that turn a free weekend project into a paid repair.
Should You Build Your Own PC or Pay a Bench Tech?
Should you build your own PC or pay a bench tech: build it yourself if you have a free afternoon, a guide you trust, and do not mind owning the risk of a mistake. Pay a shop instead if the machine needs to work the first time, the parts are expensive enough that a bent pin would hurt, or you would rather spend the afternoon doing anything else. Neither answer is wrong. The right one depends on what your afternoon and your parts are actually worth to you.
No labor fee, full control over every part, and a machine you understand well enough to upgrade or fix later without calling anyone.
Same-day or next-day turnaround, a technician who has already made every beginner mistake once, and a warranty on the labor if something is not seated right.
What Does a Professional PC Build Service Include?
A typical build service covers assembly, cable routing, a BIOS check, and a stress test before the machine leaves the shop. Micro Center's own published tiers, as of April 2026, run from 149.99 dollars for a same-day air cooled build up to 799.99 dollars for a hard tube water cooled build, with a 349.99 dollar Build and Learn package in between for customers who want to watch and help. Best Buy's Geek Squad folds assembly labor into its 179 dollar My Best Buy Total membership rather than charging per build, according to a company Q&A dated July 2023. Stateline Tech offers the same kind of custom PC build service, assembled on our own bench in McConnell, with parts billed at cost and no markup hidden in the labor line.
| Service tier | Price | What it includes |
|---|---|---|
| Same-day air cooled build | $149.99 | Core assembly, cable routing, basic boot check |
| Air cooled + OS and drivers | $199.99 | Assembly plus Windows and driver installation |
| Build and Learn package | $349.99 | Guided, hands-on build alongside a technician |
| Water cooled, soft tube | $399.99 | Custom liquid cooling loop, soft tubing |
| Water cooled, hard tube | $799.99 | Custom liquid cooling loop, rigid tubing |
Figures above reflect Micro Center's own published national tiers as of April 2026; local pricing and availability can vary by store.
Know when to pay a shop to build your pc instead of doing it yourself: once the parts list crosses roughly 1,500 to 2,000 dollars, or the plan includes a custom liquid cooling loop, the cost of a professional build starts looking small next to the cost of a mistake on hardware that expensive. For a full breakdown of what different shops actually charge, see our comparison of what shops charge to build a PC.
Building also leaves you with a machine you understand well enough to upgrade later, one part at a time, instead of replacing the whole system. A prebuilt or shop-assembled machine can still be upgraded, but a builder who watched every part go in the first time troubleshoots a future problem faster, since they already know what is inside.
What Parts Do You Need to Build a PC?
What parts do you need to build a PC: a CPU, a compatible motherboard, RAM, storage, a power supply, a case, a cooler, and in most builds a dedicated graphics card. Every one of those parts has to agree with every other one, which is the part beginners find confusing and the part a bench tech checks first.
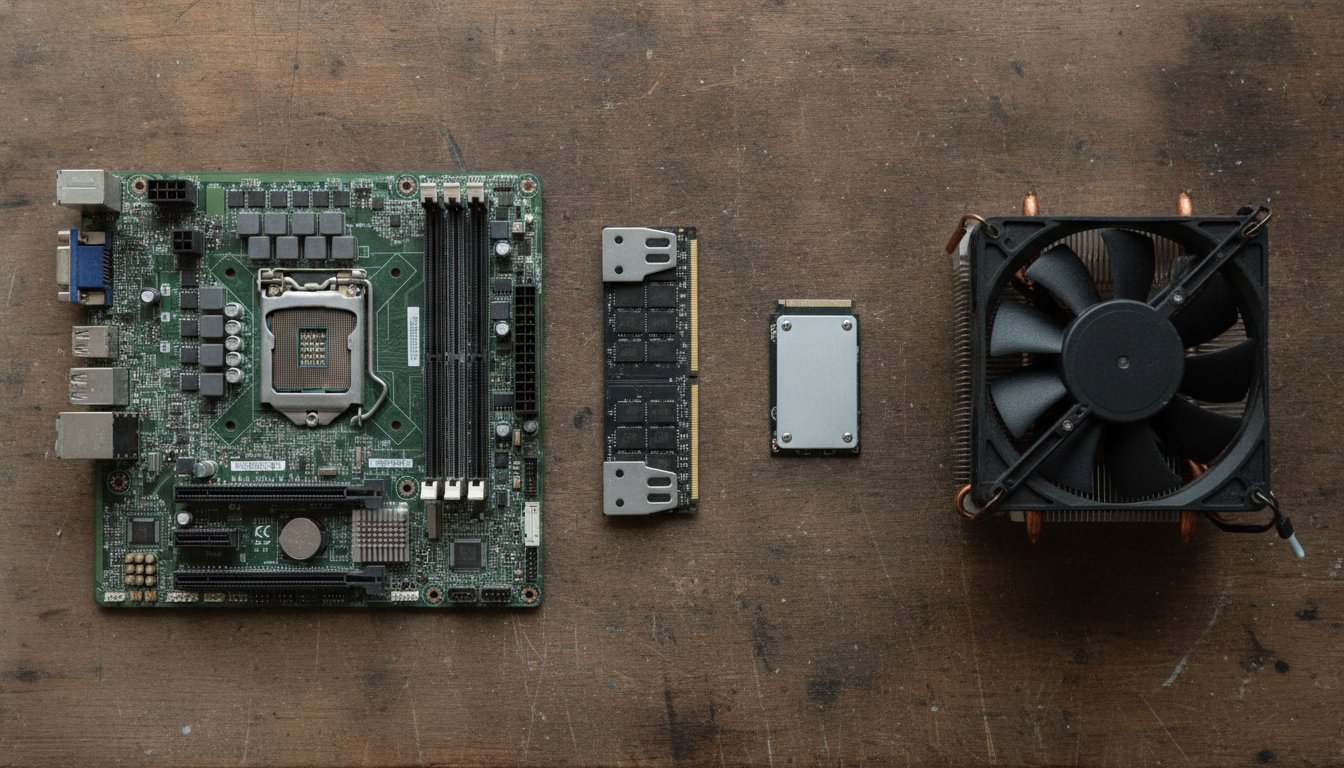
The Complete PC Parts List Explained for Beginners
The CPU is the processor that executes every instruction the machine runs, and it only fits one socket type, so it has to match the motherboard exactly. The motherboard supplies the CPU socket, the RAM slots, the M.2 and SATA storage connections, and the PCIe slot the graphics card plugs into, and its size, ATX, microATX, or Mini ITX, has to match the case. RAM holds whatever the system is actively using, and 16 gigabytes is the practical minimum for a modern build, with two matched sticks running faster than one large stick in most motherboards. Storage is almost always an NVMe SSD now, since it boots and loads noticeably faster than a spinning hard drive, though a second hard drive still makes sense for cheap bulk storage.
The power supply converts wall power into the voltages every other part needs, and its wattage and connector set both have to match the GPU, following the ATX power supply design standard that Intel first published in 1995 and has updated since, most recently to version 3.0 and 3.1 for the newest graphics cards. Modern high end GPUs pull power through a single 12VHPWR connector under the PCIe 5 specification, which caps draw at 600 watts and requires an ATX 3.0 or newer supply above 450 watts to use that connector safely, according to the documented requirements of the ATX 3.0 and PCIe 5 power standard. The case just needs to fit the motherboard size and have room for the cooler and GPU length, and the cooler needs to match the CPU's socket and its expected heat output.
Do You Need a Graphics Card to Build a PC?
Not always. A CPU with integrated graphics can run a desktop, browse the web, and handle office work with no separate GPU at all. Gaming, video editing, and anything graphically demanding still need a dedicated graphics card, and that card is usually the single most expensive part on the list, which is why its power connector and PSU compatibility matter as much as its raw performance.
Case size is part of the compatibility check too, not an afterthought. A full tower case takes any motherboard size and leaves room for a tall air cooler or a large radiator, while a mini ITX case forces smaller, pricier parts and a more careful cable routing plan. Builders planning a quiet home office machine or a compact streaming rig should pick the case and airflow layout before locking in a GPU length, since a card that does not physically fit is the single most common return on a first build.
Every part on this list has to be checked against every other part before you buy anything, not after. Community compatibility planning tools exist specifically for this reason, letting you build a virtual parts list and flag conflicts before a single box arrives on your porch. Our companion parts guide covers this in more depth: see the plain list of what you need to build a PC for the full breakdown by category and budget tier.
How Much Should You Budget to Build a PC in 2026?
How much should you budget to build a PC in 2026: expect roughly 900 to 1,000 dollars for an entry level 1080p build, 1,500 dollars for a solid 1440p mid range build, 2,000 dollars for a high performance 1440p to 4K build, and 2,500 dollars or more for a premium 4K rig, with the graphics card driving most of the swing between tiers. Is 500 dollars enough to build a pc: not for a dedicated gaming build in 2026, since a capable GPU alone often costs more than that, though 500 dollars can still build a basic office or browsing machine using integrated graphics.
| Budget tier | Approx. total | Typical use |
|---|---|---|
| Entry, integrated graphics | $500 to $700 | Office work, browsing, light multitasking |
| Entry gaming, 1080p | $900 to $1,000 | Modern games at 1080p, moderate settings |
| Mid range, 1440p | Around $1,500 | Higher settings, smoother frame rates |
| High performance, 1440p to 4K | Around $2,000 | Demanding games, light creative work |
| Premium, 4K | $2,500 and up | Top tier gaming and heavy creative workloads |
Is $1,000 Enough for a Gaming PC?
Is 1,000 dollars enough for a gaming PC: yes, 900 to 1,000 dollars reliably builds a capable 1080p gaming machine in 2026, according to current budget build pricing from component retailers. Push toward 1,500 dollars and the same budget logic carries you into smooth 1440p territory instead. Our dedicated cost guide walks through every line item at each tier: see the full cost breakdown for building a PC in 2026.
How Long Does It Take to Build Your First PC?
How long does it take to build your first PC: most first-time builders finish the hardware assembly in two to four hours when they follow a structured guide and check compatibility beforehand, based on widely reported community experience. Add another thirty minutes to an hour for installing Windows and drivers afterward. Troubleshooting a single stuck step, most often a front panel cable or an unseated stick of RAM, can add real time on top of that estimate.
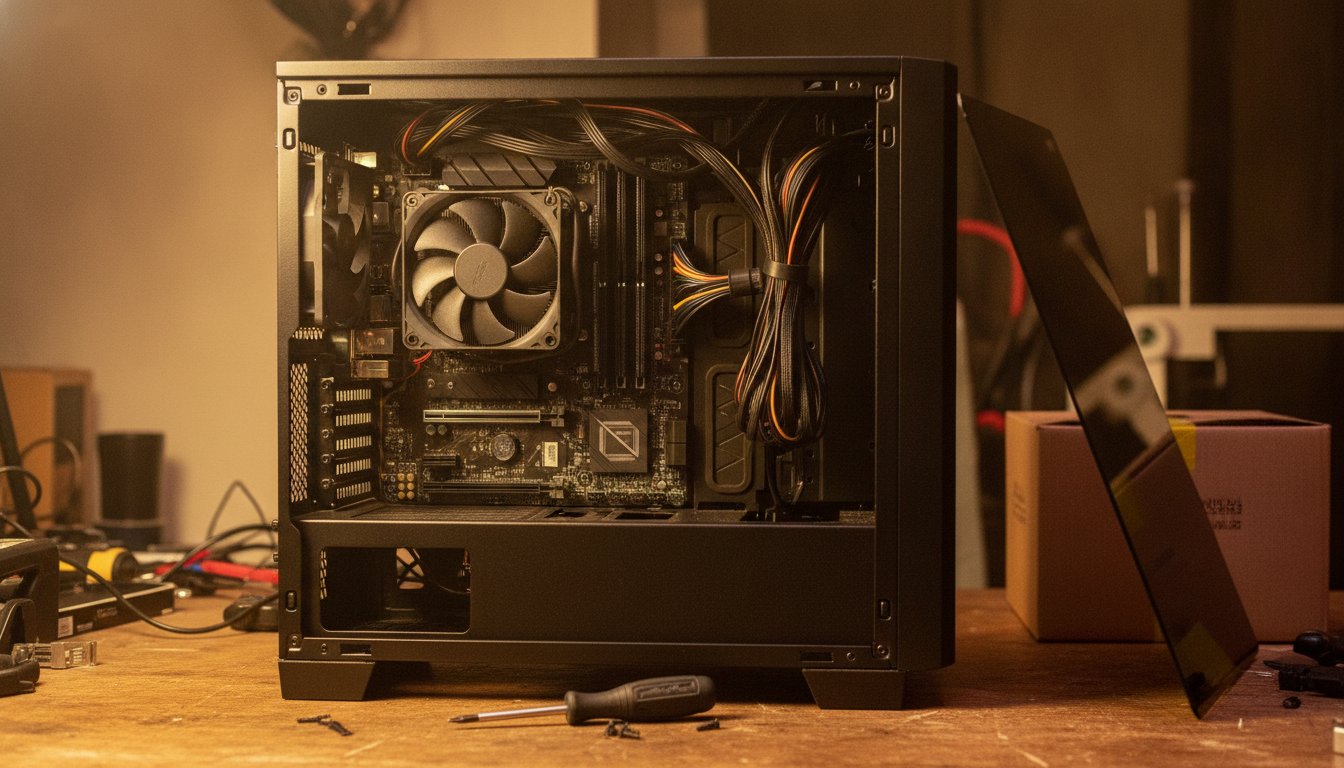
A rushed build is where most avoidable mistakes happen. Our dedicated timing guide covers this question in full: see how long it actually takes to build a PC for a stage-by-stage time estimate.
How to Build a PC, Step by Step
How to build a PC, step by step, in the order a bench tech actually uses: prep the workspace, install the CPU, mount the cooler, add RAM and M.2 storage, mount the motherboard in the case, wire the power supply and front panel, seat the graphics card and any extra drives, manage the cables, then power on and install the operating system. Follow this order and you catch most mistakes before the case ever closes.
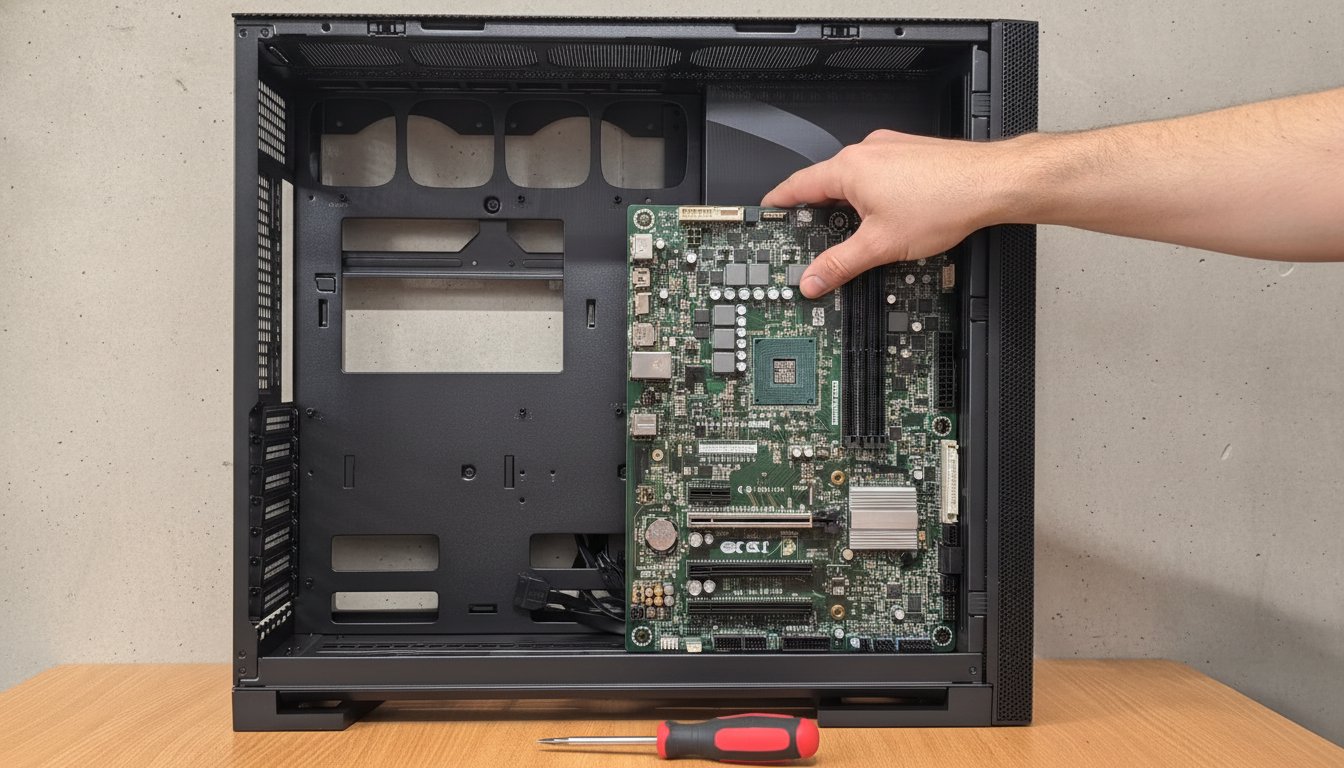
Steps 2 to 4: CPU, Cooler, and Thermal Paste
The CPU installs first because every later step depends on it being seated correctly. Line up the small triangle or notch on the chip with the matching mark on the socket, and let the chip drop in under its own weight. What does thermal paste do: it fills the microscopic gaps between the CPU's surface and the cooler's base plate so heat transfers efficiently instead of getting trapped in a layer of air. A pea sized dot in the center is enough for most coolers, since the pressure of mounting spreads it evenly on its own.
More thermal paste always means better cooling, so a thick layer is safer than a thin one.
A thick layer insulates rather than transfers heat and can spill onto the socket or nearby components, which is worse for temperatures than a thin, even layer.
Steps 5 to 6: RAM and M.2 Storage
RAM and M.2 storage both go in before the motherboard is mounted, since both slots are easier to reach with the board sitting flat on a table. Seat RAM sticks in the slots the motherboard manual marks for dual channel operation, pressing down evenly on both ends until the clips lock. An M.2 drive slides in at an angle, then presses flat and gets held down by a single small screw, which prevents it from working loose under vibration later.
Steps 7 to 9: Motherboard, Power Supply, and Front Panel
Mounting the motherboard is where an unseated standoff can short the board the moment power is applied, so check every standoff position against the board's mounting holes before a single screw goes in. The power supply connects next: the 24 pin main cable, the 8 pin CPU EPS cable near the cooler, and any SATA power cables for drives. Front panel wiring is the fussiest step in the whole build, since power switch, reset, and LED pins are small, unlabeled in some cases, and wrong exactly once is enough to leave the machine dead on the table until you find the mistake.
Steps 10 to 11: Graphics Card and Additional Drives
The graphics card goes into the top PCIe slot, pressed down until the retention latch clicks fully. Any supplemental power cables it needs run directly from the power supply, not from a splitter unless the card's documentation says that is fine. Additional SATA drives need both a data cable to the motherboard and a separate power cable from the supply, a detail beginners forget about half the time on a first build.
Step 12: Cable Management and the First Power-On
Cable management is not cosmetic. Cables left loose in the main airflow path add turbulence and reduce how efficiently the case moves hot air out, which matters more the longer the machine runs under load. Route what you can behind the motherboard tray, then power on before you close the case, watching for fans spinning and a display signal reaching the monitor. What to do after building a pc, before you trust it with anything important, is covered in full in our post-build checklist, including the stress test and burn-in steps a bench tech runs before handing a machine back to a customer.
Installing Windows and Drivers After the Hardware Is Done
Boot from a USB installer to load Windows 11, following Microsoft's own installation media guide for creating that USB drive from another working computer. Once Windows is running, install the motherboard chipset driver first, then the GPU driver, then any peripheral drivers the manufacturer publishes. Turning on XMP or EXPO in the BIOS afterward lets your RAM run at its rated speed instead of a slower default.
What Mistakes Cost Real Money When Building a PC?
What mistakes cost real money when building a PC: bent CPU pins from a misaligned socket, a shorted motherboard from an unseated standoff touching bare metal, a forgotten 8 pin CPU power cable that looks plugged in but is not fully seated, and static discharge into a board that was never grounded. Every one of those turns a free afternoon project into a paid repair, and every one is fully preventable by slowing down at the exact step where it happens.
The Bench Repairs We See Most From First-Time Builds
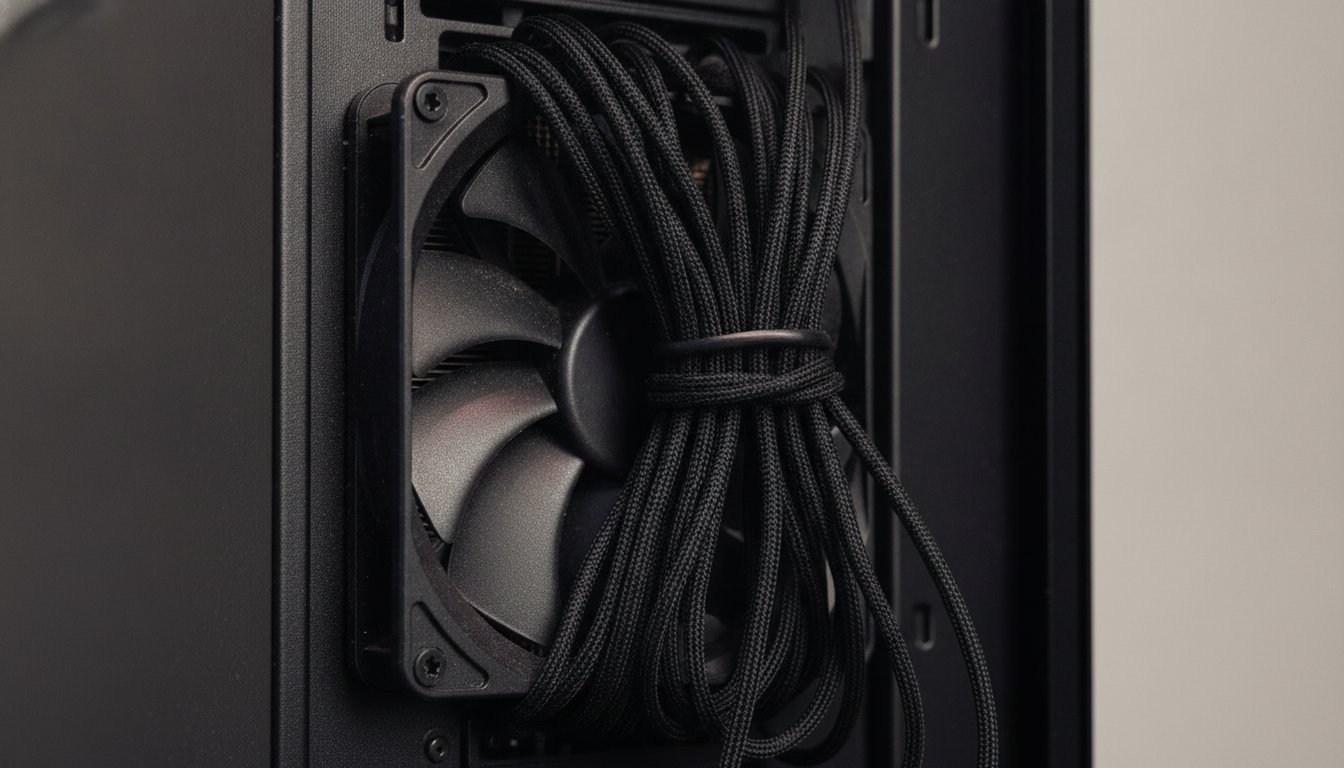
On our own bench, the machines that come in from a first build gone wrong tend to share the same handful of causes: a standoff left under a spot the board was never designed to touch, a case fan that free spun against a zip tie and ground itself down, or a power cable that looked seated but was actually half a connector short of a full click. None of these are hard to avoid once you know to check for them, which is the entire point of slowing down at steps 7 through 9 above.
Static discharge is the quiet risk in that list, since it is invisible until a component fails weeks later for no obvious reason. An anti static wrist strap clipped to the case removes the risk entirely for the cost of a few dollars, and touching a grounded metal surface before handling the motherboard or GPU does almost as well if a strap is not on hand. Working on a carpeted floor in dry winter air is the single worst combination for static risk on a build day.
Any power supply with enough listed wattage will work fine with a modern graphics card.
The ATX 3.0 and PCIe 5 standards add transient load and connector requirements beyond raw wattage, so a supply below spec can fail under a modern GPU's power spikes even if its wattage number looks adequate, per the 12VHPWR connector's documented specifications.
How Do Airflow and Dust Affect a New PC Build?
How do airflow and dust affect a new PC build: dust collects on heatsink fins, fans, and filters over months of normal use, and once it builds up enough it blocks airflow, raises component temperatures, and can force the system to throttle itself under load. A brand new build starts clean, but the case you chose and the fan setup you wire in step 10 determine how fast that changes.
Dust hampers airflow and makes fans work harder to move the same amount of air, a mechanism we explain in detail in our PC cleaning guide alongside its effect on component lifespan. A new build is not immune to this, it only starts from a cleaner baseline.
How to Set Up Your Case for Good Airflow From the Start
Positive air pressure, meaning slightly more air pushed in through filtered intake fans than pulled out through exhaust, keeps more raw dust out of the case in the first place instead of relying on cleanings to catch up later. Dust filters on every intake fan catch the bulk of what would otherwise settle directly on the heatsink and GPU fans. Keeping the finished build up off carpet and a few inches from a wall cuts down on what gets pulled in over a normal week, and rinsing filters monthly is a five minute habit that delays the day a full cleaning is needed.
None of this requires expensive parts. A case with two or three included fans arranged for intake at the front and bottom and exhaust at the back and top covers most builds without buying anything extra on build day. The fan curve set in BIOS after first boot matters almost as much as the physical layout, since fans running too slow under load trap the same heat a good airflow layout was designed to move.
Build vs Buy: Is a Custom PC Actually Cheaper?
Build vs buy, is a custom PC actually cheaper: yes, in most cases, because building avoids the markup a retail prebuilt system charges on top of its parts, and that gap commonly runs 100 to 300 dollars on a mid range machine for equivalent specs. Prebuilt systems still win on immediate availability, included support, and not needing to research a single part yourself.
The honest flip point is time and comfort, not just price. A buyer with no interest in hardware and limited spare time is often better served paying the prebuilt premium, while a buyer willing to spend a few hours researching compatible parts usually comes out ahead financially by building. Our dedicated comparison walks through both sides with real numbers: see the full build versus buy cost comparison.
When Does a Prebuilt PC Make More Sense?
When does a prebuilt PC make more sense: when you need a working machine immediately, when you do not want to research compatible parts, or when a manufacturer warranty covering the whole system matters more to you than saving 100 to 300 dollars. None of that makes building the wrong choice for everyone else, it just names the specific buyer prebuilt actually suits.
A prebuilt system also removes the small risk every DIY build carries, the chance of a bent pin or an unseated cable turning a weekend project into a return trip to the store for a replacement part. That risk is real but small, and it disappears entirely the moment a bench tech assembles the machine instead of you.
Frequently Asked Questions About Building a PC
Is it cheaper to build a PC or buy one?
Usually, yes, for performance oriented machines, since building avoids the retail markup a prebuilt system charges on comparable parts, often 100 to 300 dollars on a mid range build. Prebuilt systems can be competitive at the lowest price tiers, especially during a sale.
How long does it take to build a PC for the first time?
Most first-time builders finish the hardware in two to four hours with a structured guide and parts checked for compatibility beforehand. Add thirty minutes to an hour for installing the operating system and drivers afterward.
Can you build a PC without a graphics card?
Yes, if the CPU includes integrated graphics, which is enough for office work, browsing, and general use. Gaming and other graphically demanding tasks need a dedicated graphics card instead.
Do you need thermal paste when building a PC?
Yes, unless the cooler ships with a factory pre-applied layer already on its base plate. Thermal paste fills microscopic gaps between the CPU and the cooler so heat transfers efficiently instead of getting trapped in trapped air.
How much does it cost for someone to build your PC for you?
Standard air cooled build services commonly run 150 to 250 dollars, with published tiers as low as 149.99 dollars and as high as 799.99 dollars for complex water cooled systems, according to current big box pricing. Local shop rates vary, so ask for a written quote before committing.
Stateline Tech builds custom desktops on a real bench in McConnell, Illinois, serving the whole stateline area, with parts billed at cost and every part explained before you pay for it. If you would rather hand the build to someone who has already made every mistake once, get a quote from our custom PC build service in Freeport or call (608) 214-5158 to talk through what your build actually needs.