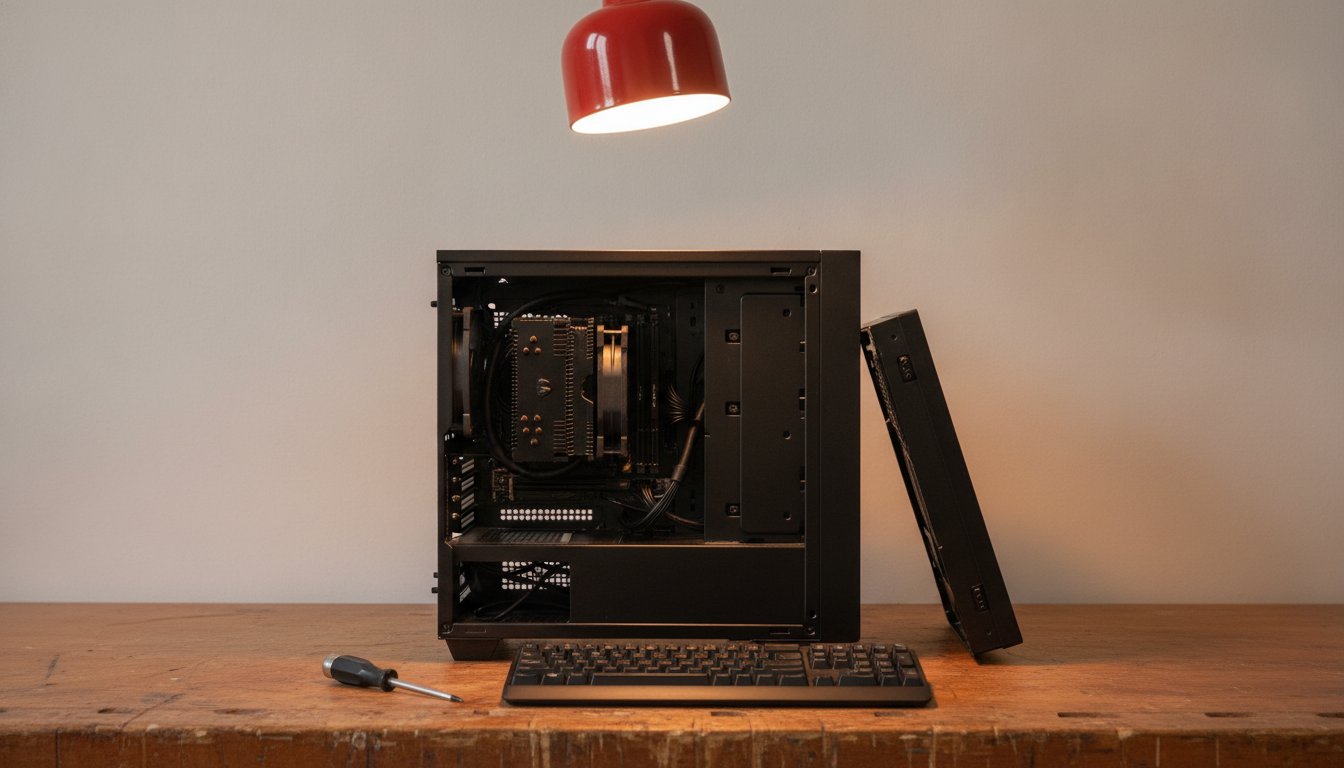
What to do after building a PC comes down to six checks in a fixed order: confirm the machine POSTs, verify every part shows up in the BIOS and enable XMP, install Windows from a USB drive, install drivers straight from the makers, set a restore point, and then stress test the whole system while you watch temperatures. Skip that last step and you own a computer you have not yet proven.
What to Do After Building a PC: The Six Checks in Order
What to do after building a PC breaks down into six checks, and the order matters more than most guides admit. Each step proves the layer underneath it: there is no point installing Windows on a machine that has not passed its self test, and no point trusting a stress test run on the wrong drivers. Work the list top to bottom and every problem you meet has a short list of causes.
This page assumes the machine is already assembled. If you are still at the parts and assembly stage, start with the full how to build a PC walkthrough and come back here for the proving stage.
How Do You Know the Build POSTed Correctly?
The build POSTed correctly when the motherboard finishes its power on self test and hands control to a boot device instead of stopping on a blank screen, a beep code, or a lit debug LED. POST is the firmware checking that the processor, memory, and required components all respond before anything else is allowed to run. It happens in the first seconds after you press the power button.
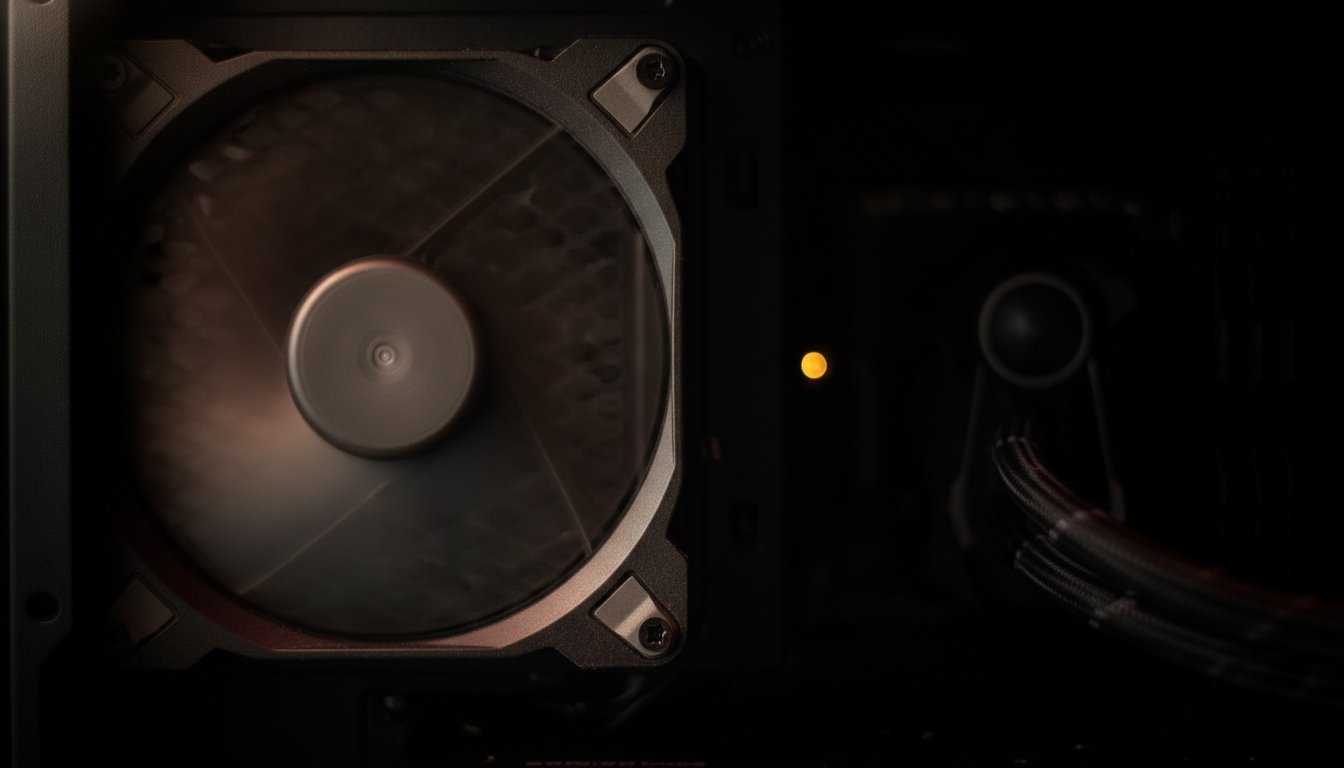
Two details save most first boots. Plug the monitor into the graphics card, not the motherboard video output, because a system with a dedicated GPU usually sends its picture there. And leave the side panel off for the first boot, so you can see fans spin and debug lights at a glance. A PC that powers on is not yet a PC you can trust.
A PC that powers on is not yet a PC you can trust.
If the machine does not POST, do not tear it down. Most failures here trace to the mistakes that stop most first builds from starting: a power cable not fully seated, RAM not clicked in on both ends, or front panel connectors on the wrong pins. Work through those slowly before you pull a single part.
What Should You Check in the BIOS Before Installing Windows?
Check three things in the BIOS before installing Windows: that every part you paid for is detected, that the boot order points at your Windows USB drive, and that your memory is set to run at its rated speed. Tap Delete or F2 during the first seconds of boot to get in.
Confirm Every Part Is Detected
The BIOS front page lists the processor model, total memory capacity, and every connected drive. Read all three lines against what you bought. If a memory stick or a drive is missing, power the machine down and reseat that part before you go any further. A part that is absent here will not appear later in Windows either, and this is the cheapest possible moment to find out.
Enable XMP or EXPO, Then Verify It Took
Memory ships running a slow default speed chosen for universal compatibility, so you have to enable XMP on Intel boards, or EXPO or DOCP on AMD boards, to get the speed printed on the box. This is not risky manual overclocking. The profile you are switching on was validated and published by the memory manufacturer, and it is the largest free performance gain available on a new build. After Windows is installed, confirm the speed took effect in Task Manager under Performance and Memory, and remember that tools like CPU-Z report half the advertised number because DDR memory transfers twice per clock cycle.
Should You Update the BIOS Right Away?
You should update the BIOS right away only in two cases: the board needs newer firmware to support your processor, or the release notes name a fix for a problem you actually have. Builder forums argue this both ways, with one camp flashing every new release and another refusing to touch firmware that works. Our ruling is boring on purpose. A stable new build has earned its stability, and a firmware flash is the one routine step that can brick a board if power drops mid write.
How Do You Install Windows on a New Build?
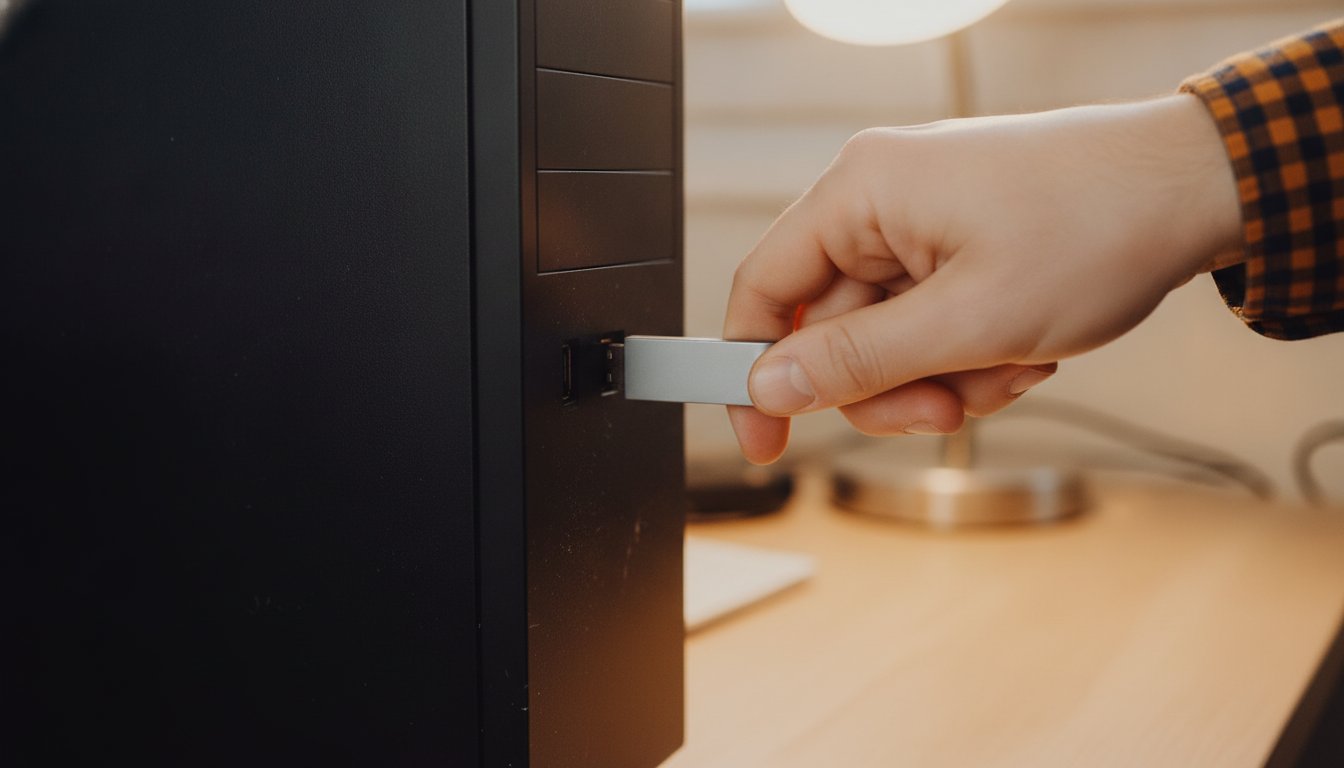
Install Windows on a new build from a bootable USB drive made on another working computer, and point the installer at your fastest drive. The Windows media creation tool builds the USB drive in about half an hour, and the install itself asks very little: pick the right drive, connect to your network or choose the offline local account path if you prefer one, and let it finish. Then run Windows Update again and again, restarting when prompted, until it reports nothing left to install.
Before you change anything else, create a restore point. System Restore snapshots your system files, installed programs, and settings so a bad driver or software change can be rolled back without touching your personal files, a mechanism Microsoft documents in its System Restore guide. Type "create a restore point" into the Start menu, press Create, and name it something honest like fresh build. The whole step takes a minute and turns a bad afternoon into a ten minute rollback.
Which Drivers Should You Install, and in What Order?
Install drivers in a fixed order: motherboard chipset package first, graphics card second, then network and audio only if Windows Update did not already handle them. The chipset package teaches Windows how to talk to the board itself, which is why it goes first, and it comes from your motherboard maker's support page for your exact model.
Graphics drivers come straight from NVIDIA, AMD, or Intel depending on your card, not from the generic version Windows Update supplies. The vendor package includes the control panel, game specific fixes, and performance work the generic driver lacks, which is why every serious build guide sends you to the source. Download the current release, run it, restart, and check that your monitor is set to its full refresh rate in Windows display settings afterward, because a 144 Hz screen running at the 60 Hz default is one of the most common quiet mistakes on a fresh build.
How Long Should You Stress Test a New PC?
How long should you stress test a new PC: plan on two to three hours total, split across targeted tests, not an overnight marathon. The free tool guide we lean on, the stress testing walkthrough at drizz.dev, puts it at one full MemTest86 pass for memory at roughly 45 to 90 minutes, 30 to 60 minutes of Prime95 or OCCT for the processor, and 15 to 30 minutes of FurMark or Unigine for the graphics card, with monitoring software such as HWiNFO open the whole time. Longer overnight runs mostly add wear, not information.
Most lists of what to do after building a PC say run a stress test and stop there. The durations above and the temperature lines below are the pass and fail numbers those lists leave out.
| Test | Tool | Duration | A failure looks like |
|---|---|---|---|
| Memory | MemTest86 | 1 full pass, 45 to 90 min | Any reported error, even one |
| Processor | Prime95 or OCCT | 30 to 60 min | Crash, reboot, or worker stops |
| Graphics card | FurMark or Unigine | 15 to 30 min | Artifacts, driver crash, shutdown |
Treat any single failure as a full stop. One MemTest86 error means you test the sticks one at a time to isolate the bad one, because faulty memory imitates processor and graphics instability and will waste your whole week if you chase it in the wrong place. A crash under processor load with temperatures in range points at settings or power. Fix the cause, then rerun the failed test from the start.
What CPU and GPU Temperatures Are Normal on a New Build?
Normal temperatures on a new build under full stress load are anything below about 85 C on the processor and below about 85 to 95 C on the graphics card, depending on the model. Modern chips are designed to run warm, so a brief spike is not a defect. The numbers that should stop you are sustained readings near 100 C or clock speeds falling while temperatures sit at the limit.
| Component | Healthy under load | Watch closely | Problem |
|---|---|---|---|
| Processor | Under 85 C | 85 to 95 C | Sustained 95 C and above |
| Graphics card | Under 85 C | 85 to 95 C | Sustained 95 C and above |
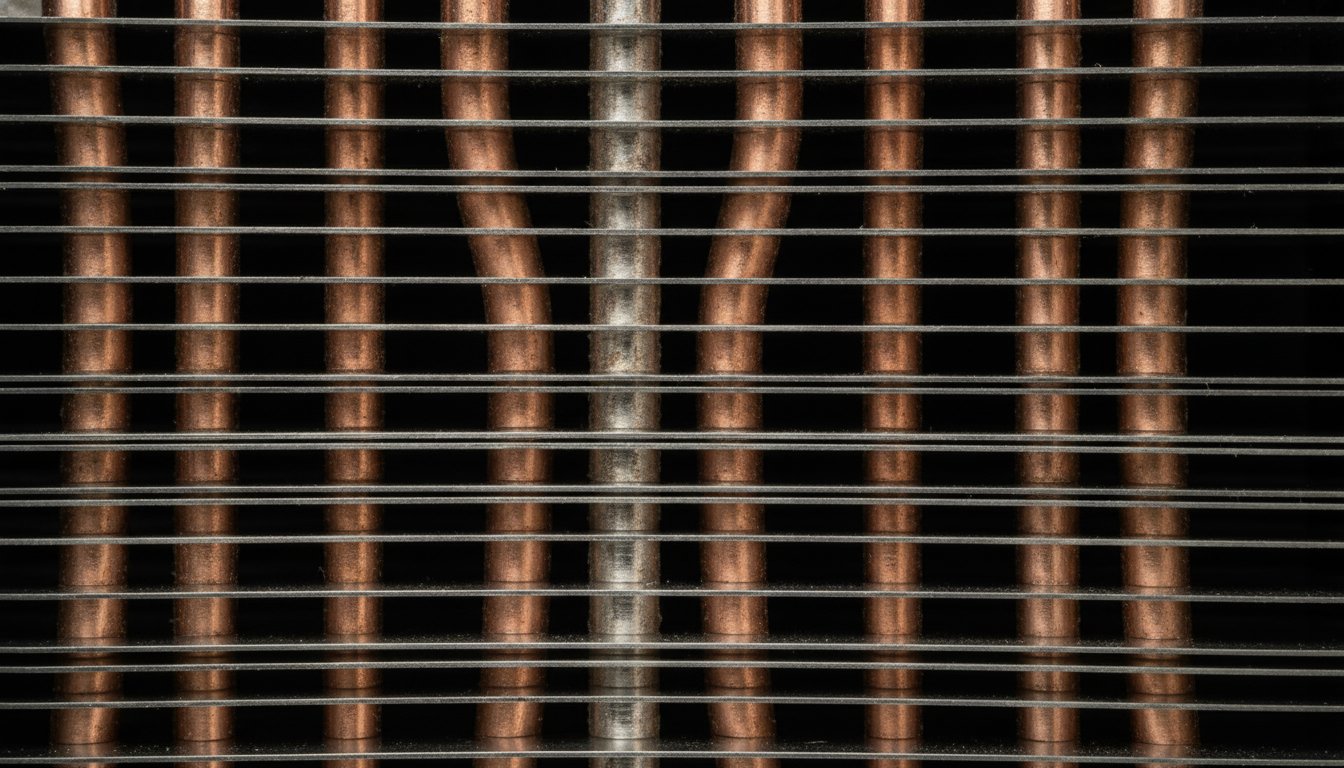
The mechanism behind those lines is thermal throttling: when silicon approaches its maximum safe junction temperature, the firmware cuts clock speed to shed heat, a protective reflex explained well in this thermal throttling analysis, which also attributes roughly 40 percent of throttling cases to nothing more than dust buildup. On a brand new build your heatsinks are clean, so high temperatures now mean a mounting or airflow problem, not maintenance. A machine that passes today can still creep upward 12 to 18 months from now as dust settles in, which is why how much performance a dust cleaning actually restores is worth reading before you ever need it. Keep HWiNFO installed and glance at it now and then; a slow drift upward at the same workload is the early warning.
What Does Our Bench Check Before a Build Leaves the Shop?
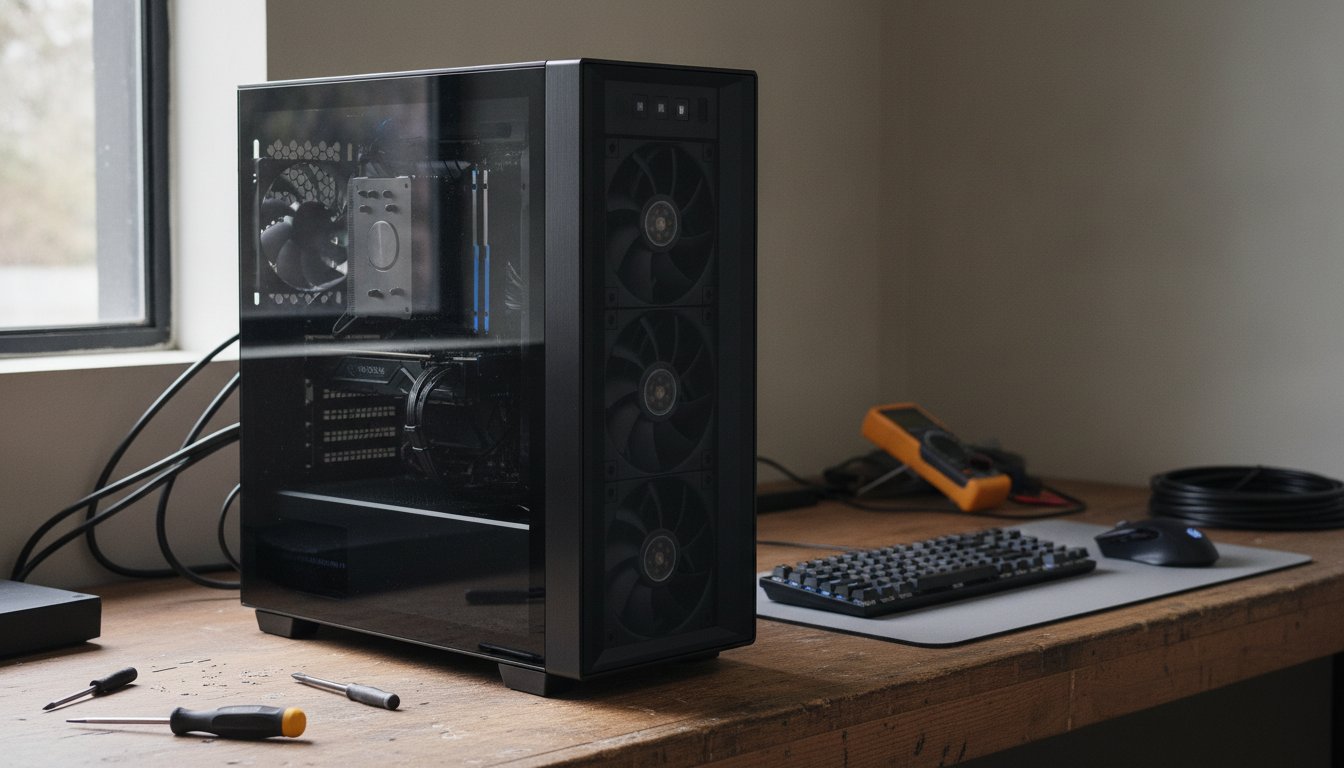
Before a build leaves the shop, Stateline Tech runs the same handoff sequence on every machine, and none of it needs special equipment. We build customer PCs on a working bench, and the machine does not get handed across the counter on the day it first boots. It gets handed across after every line below passes, and that gap between boots and proven is exactly the gap this page exists to close for home builders.
That list is the whole service. When someone orders a custom PC build from us, the proving stage is included before handoff, and you are welcome to run the identical list at home in one careful afternoon. The port walkthrough at the end catches the small stuff, a dead front panel USB header or a case audio jack on the wrong pins, that otherwise surfaces three weeks later as a mystery.
When Should You Pay for Help, and When Should You Not?
Pay for help after a build only when the machine will not POST after one slow pass through the basics, when a part looks dead and you want documentation for a warranty claim, or when your time is genuinely worth more than the afternoon this list takes. Everything else on this page is free, uses free tools, and carries almost no risk when done in order.
For scale on what paid help costs: Micro Center listed its guided Build and Learn assembly service at $349.99 plus the cost of parts on its own service page as of December 2025, and Geek Squad in store pricing ran from a $39.99 basic setup to a $99.99 diagnostic as of June 2026, with real variation by store and membership. Verify any of those numbers live before you plan around them, and weigh them against what the parts themselves cost in 2026 and the hours a first build actually takes before deciding the fee is worth it.
Frequently Asked Questions About a Fresh PC Build
These are the questions searchers ask most often around this one, answered the way we answer them across the counter.
Do I need to update the BIOS before installing Windows?
Only if the board requires newer firmware to recognize your processor, which the board maker's CPU support list will tell you, or if the release notes fix a problem you are actually seeing. On a stable build with everything detected, note your current version and move on. Firmware updates are for named reasons, not routine maintenance.
Do I need to enable XMP manually?
Yes, on nearly every board. Memory ships at a slow universal default, and the BIOS setting to enable XMP, or EXPO and DOCP on AMD platforms, is switched off until you turn it on. The profile was validated by the memory manufacturer, so this is configuration, not risky overclocking, and it is the biggest free speed gain on a new build.
How do I know if my PC build has a problem?
Run the stress sequence and watch for four signals: any MemTest86 error, a crash or reboot under processor load, visual artifacts or driver crashes under graphics load, and sustained temperatures near 100 C. A machine that passes all four for the published durations is sound. A machine that fails any one has a specific, findable cause, starting with the failed test.
Why is Windows not activating on my new build?
Usually because the digital license is tied to different hardware or the key was mistyped. Sign in with the Microsoft account that holds the license, then follow the official Activation troubleshooter steps. A new motherboard is the most common trigger, because Windows reads it as a whole new computer and the license has to be moved across.
What software should I install first on a new PC?
A monitoring tool like HWiNFO so temperatures are never a mystery, your browser of choice, and a backup tool pointed at an external drive or cloud folder. Windows Defender already covers antivirus for most people, so skip third party security suites unless you have a specific need. Keep the machine lean for the first weeks so new problems have short suspect lists.
If you would rather hand the proving stage after your build to a bench that runs it every week, our custom PC builds service includes every check on this page before handoff; call Stateline Tech at (608) 214-5158.