
Why does my computer keep saying preparing automatic repair? Because Windows failed to start at least twice in a row, so it launched Startup Repair, its built-in recovery tool, and the underlying fault is something that tool cannot fix on its own. Stateline Tech sees these loops on the bench regularly. The fix ladder below breaks the loop, from a forced restart up through command line repairs, and tells you exactly when to stop and protect your files instead.
What Does Preparing Automatic Repair Mean?
Preparing Automatic Repair means Windows detected consecutive failed boots and is loading Startup Repair, a diagnostic tool that lives in the Windows Recovery Environment, a small separate operating system stored on a hidden recovery partition. Per Microsoft's Startup Repair documentation, the tool automatically checks the components Windows needs to start: the boot records, the boot configuration data, critical system files, and recent update or driver activity.
Two details matter before you do anything else. First, the screen itself is not the problem; it is Windows reporting that something underneath it is broken. Second, if your drive is encrypted with BitLocker, Startup Repair will ask for your BitLocker recovery key before it can do any work, so locate that key now, not mid-repair.
Why Does My Computer Keep Saying Preparing Automatic Repair Over and Over?
The loop happens because the fault is one Startup Repair cannot fix automatically. Windows boots, fails, runs the repair, reboots, fails again, and re-triggers the same repair. The cycle continues until the real cause is fixed by hand or the tool gets lucky.
The Software Causes: Updates, System Files, and Boot Records
Stateline Tech sees four software causes behind most of these loops: a Windows update or driver install that failed partway through, corrupted system files that Windows needs at boot, a damaged Boot Configuration Data store (the small database that tells the machine where Windows lives), and file system errors left behind by a hard shutdown or power cut. Each of these has a specific rung on the fix ladder below.
The Hardware Causes: Drives, Memory, and Connections
Hardware causes are the minority, but they are the expensive branch: a failing hard drive or SSD, a bad memory stick, or a loose drive cable in a desktop. Windows writes what it found during each repair attempt to a log file at C:\Windows\System32\Logfiles\Srt\SrtTrail.txt, and repeated disk errors in that log point toward the hardware branch. Before anyone quotes you for parts, it is worth knowing what a computer repair should cost so you can judge the quote.
A repair loop means the computer has a virus.
Malware is one possible cause, but failed updates, corrupted boot files, and disk errors are the usual suspects. Do not start with an antivirus reinstall; start with the fix ladder.
How Long Does Preparing Automatic Repair Take?
How long does preparing automatic repair take on a healthy machine? Microsoft does not publish an expected duration, and the honest answer is that it varies with drive speed and drive health. The working rule Stateline Tech uses at the bench: give the screen one full hour, once. A machine on a solid state drive that is still sitting on the same screen after an hour is stuck, not working, and waiting longer will not change the outcome.
If your PC is stuck on preparing automatic repair through a second full cycle, stop waiting. Two complete failed passes mean the automated tool has already told you it cannot fix this; the manual steps below are the way forward.
Black Screen or Blue Screen? Your Symptom Picks the Fix Path
The screen you land on after the Preparing Automatic Repair message picks your fix path, and this triage is the step most guides skip. A black screen and a blue screen mean different things, and matching the symptom to the right first move saves hours.
| What you see | What it usually means | Start with |
|---|---|---|
| Loops straight back to the maker's logo, never reaches a menu | Boot files or drive too damaged to load the recovery menu | Forced entry into recovery (next section), then boot file repair |
| Black screen with a spinning circle that never ends | Repair scan hung, often a slow or failing drive | The one hour rule, then forced entry and a disk check |
| Blue screen reporting that Automatic Repair could not repair your PC | The tool ran, failed, and is handing you manual options | Advanced options: uninstall updates, then command line fixes |
| Blue Choose an option menu appears | Recovery environment loaded and working; best case | The fix ladder, top to bottom |
Readers searching how to repair computer blue screen problems are almost always in one of the two blue rows, and that is the better place to be: a blue menu means the recovery environment loaded, so every tool on the fix ladder is available. The two black rows mean the recovery environment itself is struggling, which shifts the odds toward the hardware branch covered later.
How to Break the Loop and Reach Advanced Options
Breaking the loop means getting off the automatic cycle and into the Advanced options menu, where every real fix lives. If the blue Choose an option menu already appears, select Troubleshoot, then Advanced options, and skip ahead to the ladder. If the machine loops without ever showing a menu, force your way in: Microsoft's recovery environment guide documents the method, which is holding the power button to interrupt startup two times in a row, after which the recovery screen appears on the third restart.

That forced shutdown feels wrong, and on a working machine it would be. Here it is the documented, intended entry method. One wrinkle: some manufacturers add their own recovery key at power-on, and the key varies by brand; Asus documents F9, with F12 as the fallback, while other brands use other keys, so a quick search for your exact model saves guessing.
What Is the Fix Ladder? Eight Steps From Safe to Last Resort
The fix ladder is the eight manual repairs, ordered from zero risk to last resort. Work top to bottom and stop as soon as Windows boots. Do not jump to a reinstall first; the top rungs fix most software loops and touch nothing you care about.
Fix 1: Unplug Everything and Force One Clean Restart
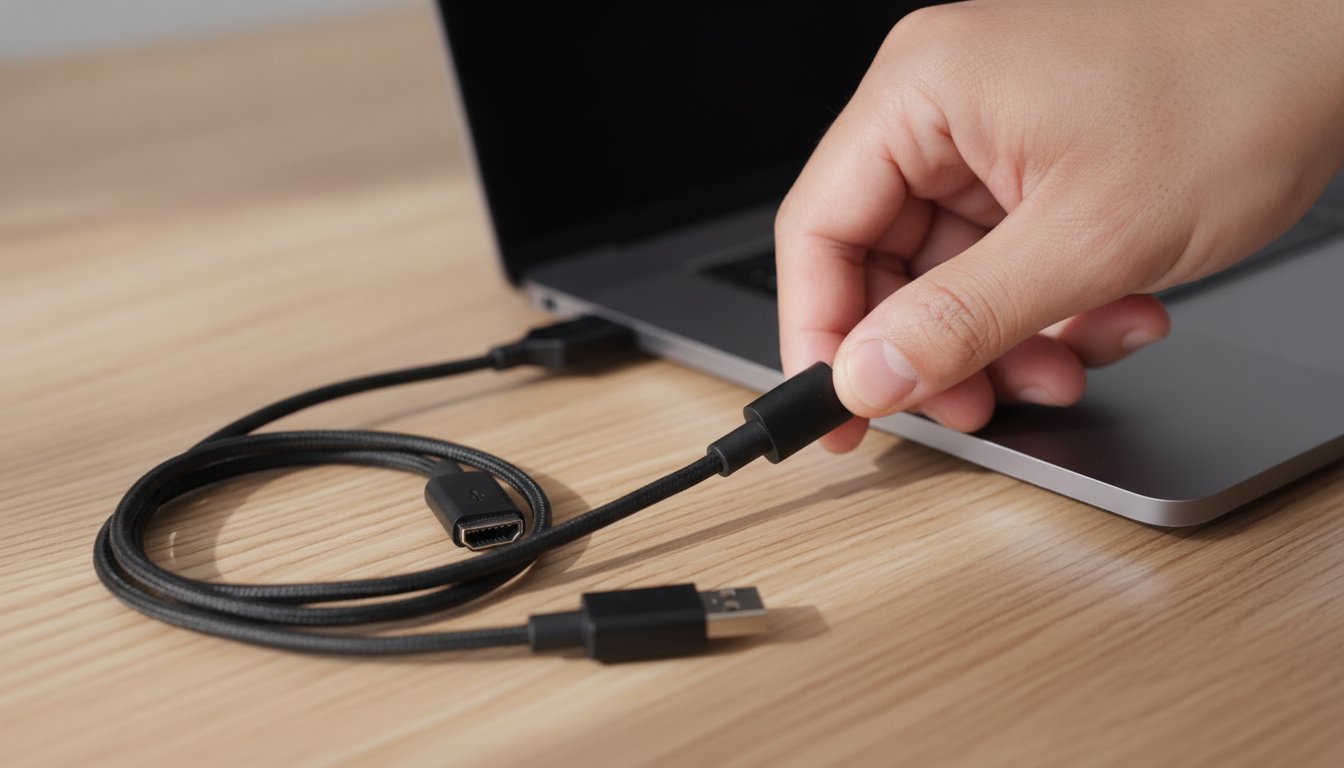
Unplug all external devices, then hold the power button for ten seconds and start the machine once more. A surprising share of loops are a one-time hang caused by an interrupted update or a confused USB device, and one clean start with nothing attached clears them. If the loop returns, move down the ladder.
Fix 2: Uninstall the Most Recent Windows Update
If the loop began right after an update, go to Advanced options, choose Uninstall Updates, and remove the latest quality update first. This is the highest-percentage fix for loops that start the morning after the machine installed something, and it does not touch personal files.
Fix 3: Boot Into Safe Mode and Remove a Bad Driver
From Advanced options, choose Startup Settings, restart, and pick Safe Mode. If the machine reaches Safe Mode reliably, the hardware is very likely fine and a recently installed driver or program is the suspect. Uninstall whatever changed most recently, then restart normally.
Fix 4: Run Startup Repair Deliberately
Running Startup Repair on purpose from the menu sounds redundant, but per Microsoft's recovery options guide, it is the recommended first tool when Windows does not start, ahead of System Restore. If the recovery environment itself will not load, that same guide covers building recovery media on a USB drive with at least 8 GB of space from another working PC.
Fix 5: Roll Back With System Restore
System Restore, under Advanced options, returns Windows system files and settings to a dated restore point without touching personal files. It only works if restore points exist, so if the option is greyed out, move on. When it does work, it undoes a bad update, driver, and registry change in one pass.
Fix 6: Rebuild the Boot Files With bootrec
From the Advanced options Command Prompt, run the three commands documented across Microsoft's support community: bootrec /rebuildbcd, then bootrec /fixmbr, then bootrec /fixboot. These rebuild the records that tell the machine where Windows lives, which is exactly the piece a hard shutdown most often corrupts. They repair boot plumbing only and do not touch your files.
Fix 7: Check the Disk and System Files
Still at the Command Prompt, run chkdsk C: /r to find and repair disk errors, then repair the system files. Per Microsoft's System File Checker documentation, the correct order is DISM /Online /Cleanup-Image /RestoreHealth first, then sfc /scannow, because DISM supplies the clean files SFC uses for its repairs.
Fix 8: Last Resorts, in the Right Order
Three moves remain, in order of severity. First, the workaround: bcdedit /set {default} recoveryenabled No turns the automatic repair trigger off, which can let a limping machine boot, but it silences the alarm rather than fixing the fault, so treat it as a diagnostic step. Second, Reset this PC with the keep my files option. Third, a clean reinstall from USB media, which wipes the drive and belongs at the absolute bottom of the ladder.
| Fix | What it repairs | Risk to your files |
|---|---|---|
| Clean restart, nothing attached | One-time hangs, device conflicts | None |
| Uninstall recent update | Loops that started after an update | None |
| Safe Mode driver removal | Bad driver or recent install | None |
| Startup Repair, run deliberately | Common boot component faults | None |
| System Restore | Bad update, driver, or setting | None to personal files |
| bootrec commands | Damaged boot records and BCD | None |
| chkdsk, DISM, then sfc | Disk errors, corrupted system files | Low, unless the drive is failing |
| Reset or reinstall | Everything software | Real; back up first |
When Is It a Hardware Problem Instead of Software?
It is a hardware problem instead of software when the repairs themselves keep failing. Stateline Tech uses a plain stop rule at the bench, and we recommend it to every reader: if bootrec and chkdsk both fail to hold after two honest attempts, stop treating it as a software job.
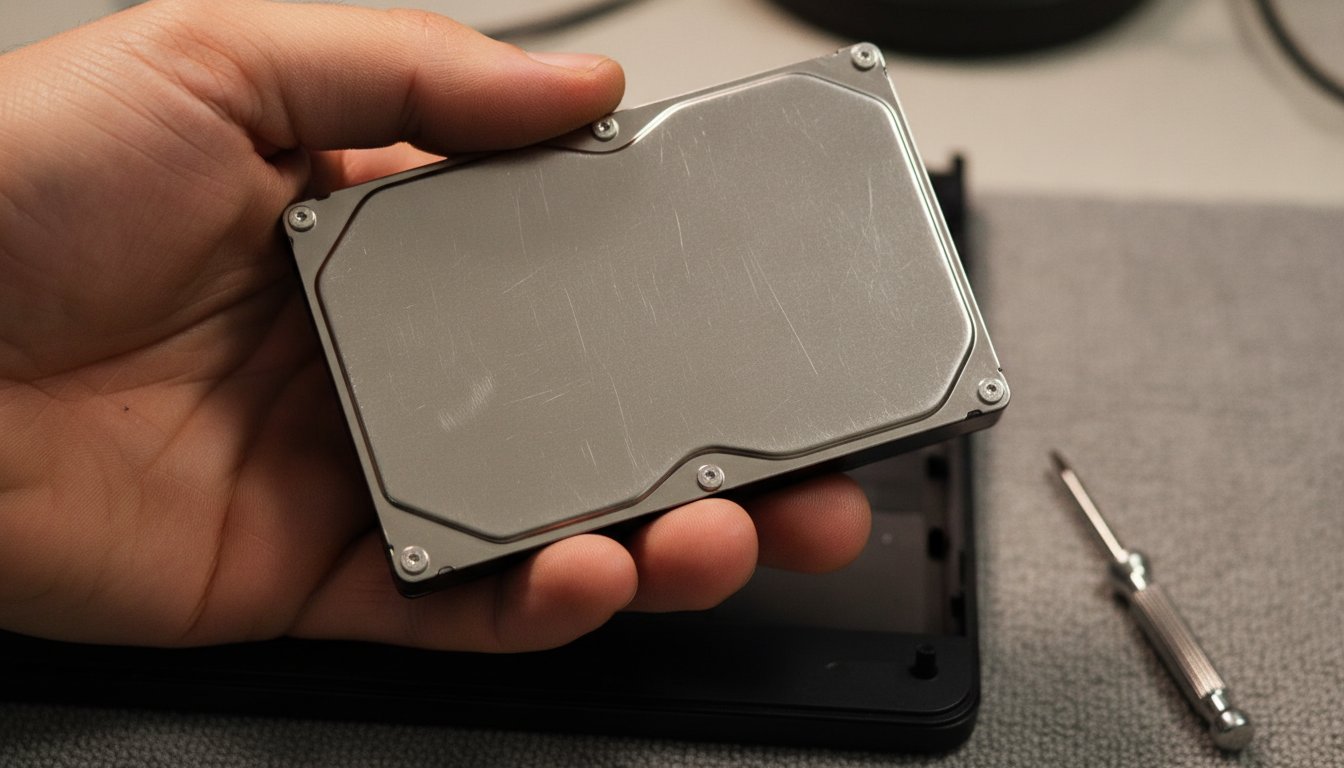
The specific hardware signals: chkdsk finds new bad sectors on every pass, the drive does not appear in the BIOS at all, the machine clicks or grinds at power-on, or the loop survives a full Reset this PC. Any one of these means the fault is in the drive, the memory, or a connection, and no amount of command line work fixes physics. At that point a bench diagnosis with real drive diagnostics tells you what is actually broken before you buy anything, and if the files matter more than the machine, read what data recovery costs before you attempt anything further yourself.
Will You Lose Your Files?
Will you lose your files? In most loops, no: the top six rungs of the ladder repair boot plumbing and system files and leave personal data alone, and even Reset this PC offers a keep my files option. The loop is rarely what destroys files. Repair attempts on a dying drive are.
The loop is rarely what destroys files. Repair attempts on a dying drive are.
So the real question is drive health. If the hardware signals above are absent, work the ladder with reasonable confidence. If they are present and the files are irreplaceable, the safe order reverses: get the data imaged first, repair second. A shop can pull the drive and copy its contents before any repair attempt, which is the one move a home user usually cannot do safely on a failing disk.
When to Stop DIY and Call a Repair Shop
Stop DIY and call a repair shop when you hit the stop rule, when the drive shows any physical symptom, or when the files on the machine are worth more than the machine. Stateline Tech will say the quiet part plainly: most software loops do not need us. A loop that started after an update and clears with Fix 2 costs you nothing but twenty minutes, and that is the right outcome.
If you do hand the machine over, hand it over informed. It is fair to wonder whether repair shops look at your files while they work, and it is worth understanding how big box repair counters compare with a local bench before you pick a counter to stand at. You never pay before you know exactly what you are getting.
How Do You Stop the Loop From Coming Back?
You stop the loop from coming back by removing its two favorite triggers: interrupted updates and hard shutdowns. The habits below are unglamorous, and they are the difference between a machine that loops once and a machine that loops every few months.
Let updates finish
Plug a laptop in during updates and leave the machine on until the desktop returns. Most loops we see started as an interrupted update.
Shut down properly
Use the Start menu shutdown, not the power button, except in an emergency. Hard cuts are how boot records get corrupted.
Back up automatically
An automatic cloud or external drive backup turns a worst-case loop from a crisis into an errand. Set it once and forget it.
Watch early drive warnings
Slowdowns, clicking, and repeated disk errors in chkdsk are the drive announcing retirement. Replace it on your schedule, not the drive's.
Frequently Asked Questions About the Preparing Automatic Repair Loop
How do I bypass automatic repair in Windows 11?
Run bcdedit /set {default} recoveryenabled No from the recovery Command Prompt. This turns off the automatic repair trigger so the machine attempts a normal boot instead of looping. Treat it as a bypass, not a repair: whatever broke the boot is still broken, so use the working session to back up files and fix the underlying fault.
Is the preparing automatic repair loop caused by a virus?
Rarely. Malware can damage boot files, but the common causes are a failed Windows update, corrupted system files, a damaged boot record, disk errors, or failing hardware. Work the fix ladder first; if the machine boots afterward, run a full malware scan as a follow-up rather than a first move.
What is SrtTrail.txt and where do I find it?
SrtTrail.txt is the log Startup Repair writes during each attempt, stored at C:\Windows\System32\Logfiles\Srt\SrtTrail.txt. Open it from the recovery Command Prompt with notepad and read the last entries: they name the specific check that failed, which tells you whether you are fighting a boot file, a driver, or the disk itself.
Does the fix differ between Windows 10 and Windows 11?
No. Both versions use the same recovery environment, the same Advanced options menu, and the same commands, so every rung of the ladder above applies to either. The menus differ cosmetically, and manufacturer recovery keys vary by brand, but the repair sequence and the stop rule are identical on both systems.
Can I fix the loop without a USB drive?
Usually, yes. The recovery environment lives on a hidden partition of the internal drive, so most machines can reach every fix on the ladder with no media at all. You only need the USB route, built from another working PC, when the recovery environment itself will not load, which is itself a hint the drive is in trouble.
If the ladder did not get you back to a desktop, or the drive is showing failure signs, Stateline Tech will find the real fault before you spend a dollar on the wrong fix: book our computer repair bench service, the same bench that handles computer repair in Freeport and computer repair in Rockford, or call (608) 214-5158.